how to upload photo to google docs
Lesson 13: Inserting Images
/en/googledocuments/working-with-tables/content/
Introduction
Adding images to your certificate can make information technology more visually highly-seasoned. Google Docs uses Google Search to detect and provide images for yous to choose from, and then it's likely you'll detect i that matches your needs. If you lot take a picture of your own that you desire to utilise, you can upload an image.
In this lesson, y'all'll learn how to upload, search for, and insert images. You'll also acquire how to edit the size and position of an paradigm.
Watch the video below to learn more about inserting images.
To upload an image:
- Place the insertion point in the document where you want to insert the image.
- Click Insert > Image > Upload from reckoner.

- Select the epitome you'd like to utilise then click Open up.
Searching for images
When you search for an prototype in Google Docs, it's of import to know that almost all of the images Google finds will belong to someone else. Google tries to filter the results to only testify free Artistic Commons images, simply information technology is important to go to the source of an image to cheque the copyright license. For more than information on how to apply images institute on the Internet, read our lesson on Copyright and Fair Use.
To search for an image:
- Identify the insertion point in the document where you want to insert the image.
- Click Insert> Image > Search the web.

- A search pane volition announced on the right side of the window. Blazon the desired search term, then press Enter.

- Review the search results. Select the desired paradigm, so click Insert.

- The image will announced in the document.
To delete an epitome, select information technology and press the Backspace or Delete central on your keyboard.
Other options for inserting images
Google Docs offers several additional options for inserting images. If you have the URL of an prototype or collection of images stored in online albums or in your Google Bulldoze, you can hands access and insert these pictures besides. Always call up to check the copyright license of an paradigm before placing information technology in your document.
- By URL: This option is useful if you have the URL of a particular epitome. When the URL is entered correctly, a preview of the image will appear. Click Select to insert the image into your certificate.

- Your photos: Selecting Photos gives you access to your Google account contour images. If y'all use Google Photos to organize your photos, whatever albums you have created there will also be visible in the dialog box. Click an album to open it and select an image.

- Google Drive: If you have images stored in your Google Drive account, clicking Google Bulldoze will requite you access to these images. You take the pick of sorting pictures to evidence all of the images in your Google Drive, only those shared with you, or only your most recently uploaded images.

Editing images
Sometimes when you insert an paradigm or a picture from a file, yous may notice that you will need to modify the position of the image or resize it to brand it await well placed in your document.
To edit the position of an image:
You may notice that it is difficult to change the position of the image to some other location in the document. This is considering of the text wrapping settings on the image. You'll need to change the text wrapping setting if you want to move the prototype freely, or if yous but desire the text to wrap around the image in a more than natural fashion. The positioning options are:
- In line: This choice aligns the paradigm with the text. The paradigm will movement with the text if additional text is added or deleted. However, this option gives you less freedom to motility the epitome where yous want.
- Wrap text: This selection causes the text to wrap around the paradigm. Use this option if y'all want to movement the paradigm to some other location in the certificate.
- Interruption text: This choice is like text wrapping, but the epitome will human activity equally a pause—meaning text will simply announced to a higher place and below the image, non to the left or right.
- Select the image you want to change the position of. The three positioning options appear below the image.
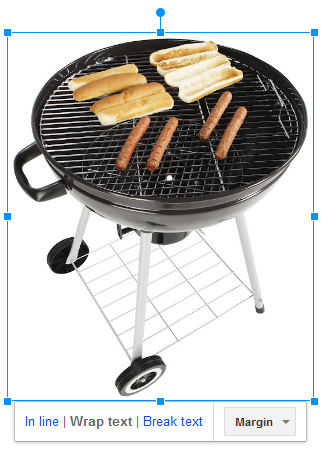
- Select Wrap text. Hover the mouse over the image, and the cursor will change into directional arrows. Click and drag the image to the desired location.
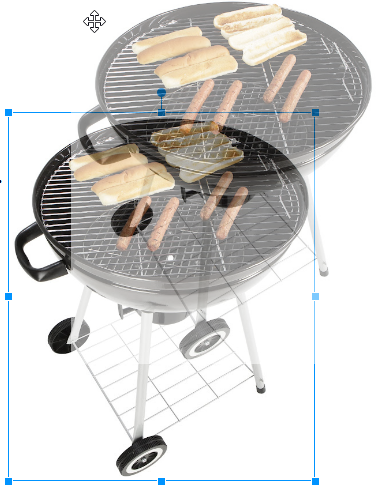
- Release the mouse, and the epitome volition move to the selected position. The text wraps around the image.
To edit the size of an prototype:
- Select the paradigm you want to resize. Resizing handles announced around the epitome.
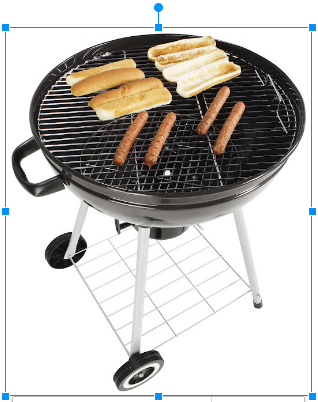
- Click and drag 1 of the corner sizing handles. The paradigm volition change size while keeping the aforementioned proportions. If y'all want to stretch it horizontally or vertically, you can use the side sizing handles.
Challenge!
- Open up our example file. Brand sure you're signed in to Google, and so click File > Make a copy.
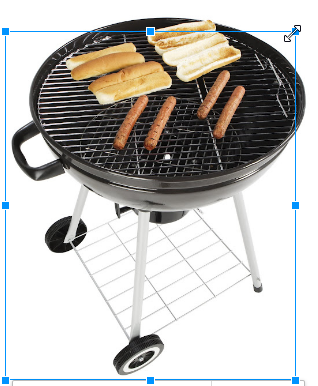
- Delete the movie of the grill on the correct side of the page.
- Insert another epitome past searching the word fireworks in the Search the web field. Choose a firework moving-picture show you like.
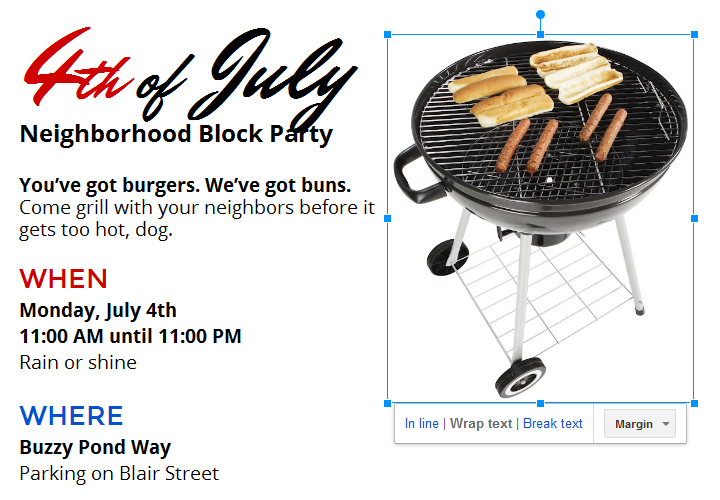
- Change the image's alignment to wrap text.
- Drag the motion-picture show to the correct side of the document and resize the image to fit on the page next to the text.
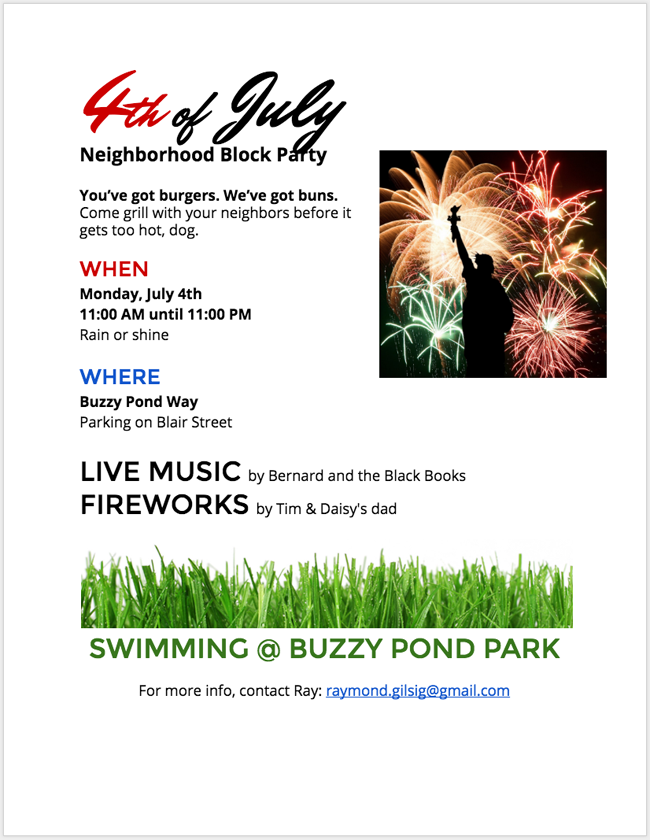
- When you're finished, your document should wait something like this:
/en/googledocuments/inserting-text-boxes-and-shapes/content/
Source: https://edu.gcfglobal.org/en/googledocuments/inserting-images/1/
Post a Comment for "how to upload photo to google docs"